Free setup! Speak with us anytime: 480-624-2500
Enable Secondary DNS with GoWebsite Nameservers as Masters
Before you make our nameservers the primary (master) set in your Premium DNS account, you'll need to contact support for your system and your DNS server software to configure your own nameservers as the secondary (slave) set. See What is Secondary DNS? for more information.
You must set your DNS slave nameservers to initiate AXFR requests from both of our master zone transfer servers (not to be confused with secondary servers). Use the following transfer server information:
- xfr03.domaincontrol.com (72.167.238.111)
- xfr04.domaincontrol.com (72.167.238.110)
These servers do not respond to general DNS queries, only to AXFR-type queries.
To Enable Secondary DNS with GoWebsite Nameservers as Masters
- Log in to your GoWebsite account.
- Next to Premium DNS, click Manage.
- Select the domain name you want to use, click
 (Settings) and select Manage DNS.
 - Click the domain name you want to use.
- On the Settings tab, under Premium DNS, click Manage under Secondary DNS.
- In the Advanced Features section, click Secondary DNS.
- Under Enabled, select On.
- For Configure zone as, select Master.
- For Designate slaves, click Add.
- For IPv4 Address Range, enter the beginning and end of the range of IP addresses for your slave nameservers.
- To configure TSIG, use your DNS server's software to generate a TSIG key for one of our supported algorithms (md5, sha1, and sha256), and then complete the following fields:
- TSig Type - Select the type of algorithm (hash function) you want to use to authenticate your transactions. If you don't want to use TSIG, select None.
- TSig Name - Enter a unique name for the TSIG key.
- TSig Value - Enter a value for the TSIG key. This value is a password that both nameserver sets share and use to authenticate requests.
- Click Update, and then click Apply.
- Test your slave DNS servers to make sure they are transferring the zone from us successfully.
- Test your slave servers to make sure they respond authoritatively for your DNS zone records when queried directly.
NOTE: Our zone transfer servers do not respond to general DNS queries, only to AXFR-type queries.
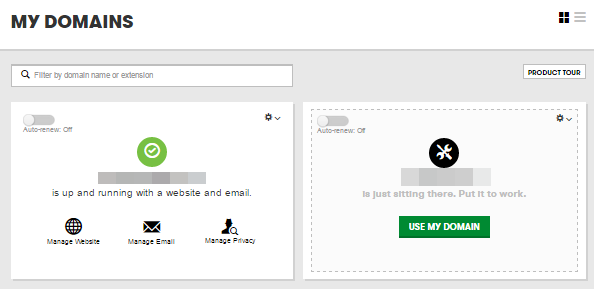
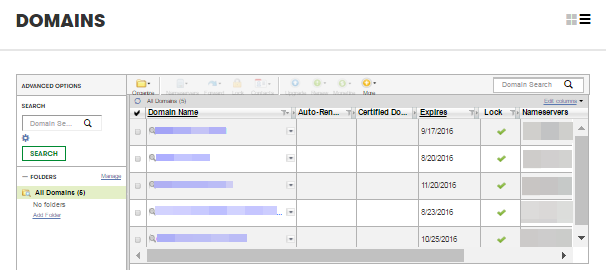
How you enable secondary DNS will depend on the view of your account. Follow the instructions for either Card View or List View and then CONTINUE ON TO STEP #3.
Card View
In Card View, your account will look something like this:

List View
In List View, your account will look something like this:

Continue on with the following directions.
If you want your slave servers to respond to general DNS queries for your domain name along with our master nameservers, follow the directions below.
To manually add NS records for your secondary DNS servers to your zone in the DNS Manager.
- Log in to your GoWebsite account.
- Next to Premium DNS, click Manage.
- Select the domain name you want to use, click
 (Settings) and select Manage DNS.
 - Click the domain name you want to use.
- On the Settings tab, under Premium DNS, click Manage under Secondary DNS.
- In the Records section, click Add and select Nameserver under the Type menu. Do not replace or delete our NS records.
- Manually add the following fields:
- Host - Type @ to map the record directly to your domain name.
- Points to - Enter your NS record.
- TTL - Select how long the server should cache the information.
- Click Save.
How you manually add NS records will depend on the view of your account. Follow the instructions for either Card View or List View and then CONTINUE ON TO STEP #3.
Card View
In Card View, your account will look something like this:

List View
In List View, your account will look something like this:

Continue on with the following directions.
Set Nameservers for the DNS zone to manually update the registry delegation to both our master nameservers and yours.
For zones not registered with us, do the following:
Set your nameservers with your domain name's registrar to include both our Premium DNS nameservers and your slave nameservers. Premium DNS nameserver ranges are:
- [pdns01-pdns13].domaincontrol.com
- [pdns02-pdns14].domaincontrol.com
For zones registered with us, do the following:
- Follow the directions above for entering nameservers. Make certain that you're entering in the information for your slave nameservers. Do not replace or delete our nameservers.
