
Free setup! Speak with us anytime: 480-624-2500
Enable Secondary DNS with GoWebsite Nameservers as Slaves
Before you make our nameservers the secondary (slave) set in your Premium DNS account, you'll need to contact support for your system and your DNS server software to configure your own nameservers as the primary (master) set. See What is Secondary DNS? for more information.
You must use your own primary nameservers to manage your DNS records and accept AXFR requests from our slaves, and you should set them to send NOTIFY requests to our slaves.
Use the following transfer server information:
- xfr03.domaincontrol.com (72.167.238.111)
- xfr04.domaincontrol.com (72.167.238.110)
When you enter your master servers in our system, we do not require that you enter them in any particular order. However, our system prefers entries that use TSIG.
If you set our nameservers as slaves, your DNS records become read-only. You cannot configure Secondary DNS with our nameservers as slaves for domain names that use vanity nameservers.
To Enable Secondary DNS with Our Nameservers as Slaves
- Log in to your GoWebsite account.
- Next to Premium DNS, click Manage.
- Select the domain name you want to use, click
 (Settings) and select Manage DNS.
 - Click the domain name you want to use.
- On the Settings tab, under Premium DNS, click Manage under Secondary DNS.
- In the Advanced Features section, click Secondary DNS.
- Under Enabled, select On.
- For Configure zone as, select Slave.
- For Designate masters, click Add.
- For IPv4 Address, enter the beginning and end of the range of IP addresses for your master nameservers.
- To configure TSIG, use your DNS server's software to generate a TSIG key for one of our supported algorithms (md5, sha1, and sha256), and then complete the following fields:
- TSig Type — Select the type of algorithm (hash function) you want to use to authenticate your transactions. If you don't want to use TSIG, select None.
- TSig Name — Enter a unique name for the TSIG key.
- TSig Value — Enter a value for the TSIG key. This value is a password that both nameserver sets share and use to authenticate requests.
- Under Allow notify from, click Add and enter the beginning and end of the range of IP addresses for your master nameservers.
- Click Apply.
How you enable secondary DNS will depend on the view of your account. Follow the instructions for either Card View or List View and then CONTINUE ON TO STEP #3.
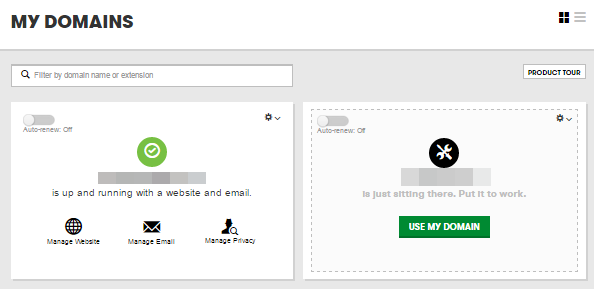
Card View
In Card View, your account will look something like this:
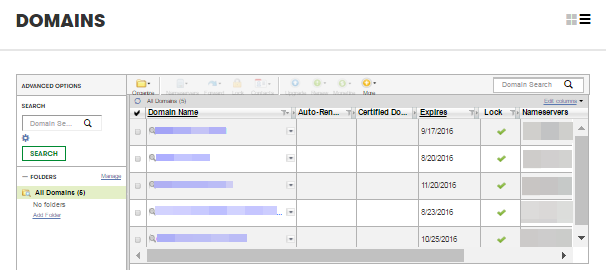
List View
In List View, your account will look something like this:
Continue on with the following directions.