Free setup! Speak with us anytime: 480-624-2500
Checking Joomla! Databases for Malicious Users
Attackers often create users to exploit security vulnerabilities in Joomla! and other Web-based applications. If you think your Website's been compromised, reviewing the Joomla! users in your website's database can make sure attackers can't easily re-exploit your website.
This article details removing users through the database itself. However, you can also use Joomla!'s administrative control panel using the information Joomla! provides here.
This procedure might vary depending on the version of your Joomla installation. For more assistance, or for version-specific instructions, please visit Joomla.org.
Locating Your Database's Connection Strings
To log in to your database, you'll need the database's username and password. This was created when you installed Joomla! and is not the same as your Joomla! administrative credentials.
If you didn't store this login information, you can find it in your website's connection string, which is a file called configuration.php. You can find this file in the directory where you installed Joomla! using either FTP (more info) or your control panel's file manager (more info).
In your configuration.php file, you need to copy the following information:

Depending on your Joomla! version, your formatting might look slightly different.
Backing up Your Database
We recommending backing up your database before making any changes to it. For more information, see Backing up and Restoring MySQL or MSSQL Databases.
Accessing Your Dabtase
Use the information you copied from your connection string to log in to your database through phpMyAdmin. For more information, see Log in to phpMyAdmin.
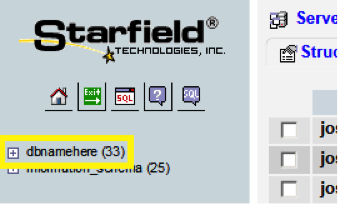
After logging in to your dabatase, click its name in the upper-left to see its tables.

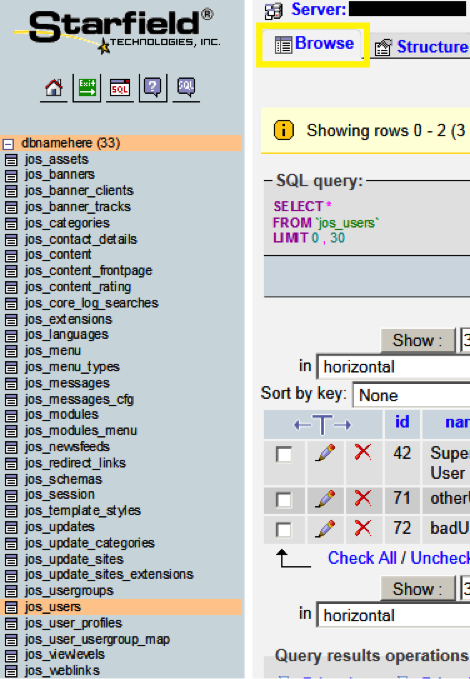
Table names begin with the dbprefix you saw in your connection strings — for Joomla! websites, it's typically jos_.
To view the content of an individual table, click its name in the left column, and then click Browse.


Removing Malicious Users from Your Database
Now that you're in your database, you can remove any malicious users an attacker added.
View Your Website's Users
View the content of the jos_users table. You should see something similar to:

This table contains the User ID, username, email address, hashed password, and the dates the user was created and last accessed.
Note the id and name for each user.
View Users' Privileges
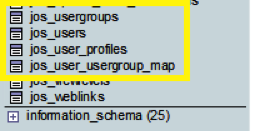
View the contents of the jos_user_usergroup_map table, which lists which User IDs are mapped to which group. In this table, user_id corresponds to the User ID from the list of users.

Note the group_id for each id.
View Group Designations
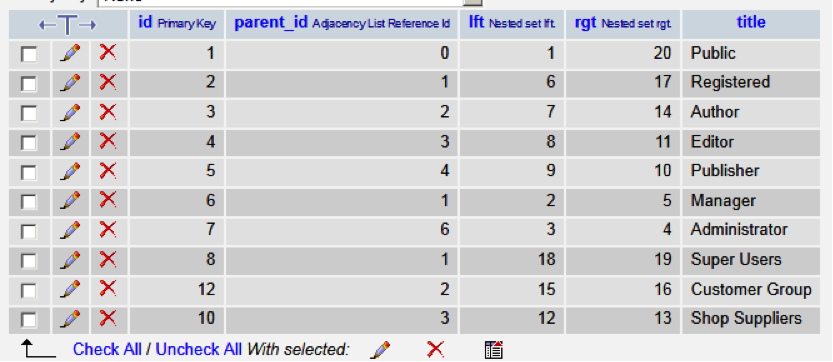
To control users' permissions and access, Joomla assigns users to groups. You can see your group designations in the jos_usergroups table.

Users assigned to groups 7 or 8 have Administrative or Super User permissions, which have enough access to compromise your Website if used maliciously.
Review the list of users you noted for any users that have a group_id matching Administrator or Super Users. This will include your own Joomla! username.
Remove Suspicious Users
Any users that you do not recognize can be removed. If you discover that the user was legitimate, you can always re-add them through the Joomla! administrative control panel.
To remove users, view the jos_users table, and then click X next to the id you want to remove.

Do not remove entries from jos_usergroups or jos_usergroup_map.
Domain Registration
Pay less for website domain names. Register your own .com, .net or .org for as low as $10.18 per year. We have everything you need to get online with your new domain.Website Builder
For as little as $3.89 per month you can build your Website online with Website Builder using our easy to use professional templates. Play Video - Demo
Quick Shopping Cart
Build and run your own successful online store in minutes. You're just five easy steps away! Shopping Cart works with Google® and eBay® Play Video
Website Hosting
Everything needed to give your website the high-performance home it deserves. Protect transactions and secure your customer's data with a SSL Certificate
